Central Reservation System (CRS)
Central reservation system (CRS) is a computerized system used to store and retrieve information and conduct transactions or making reservations with hotels/home.
Add Your Property
CRS – Add a listing

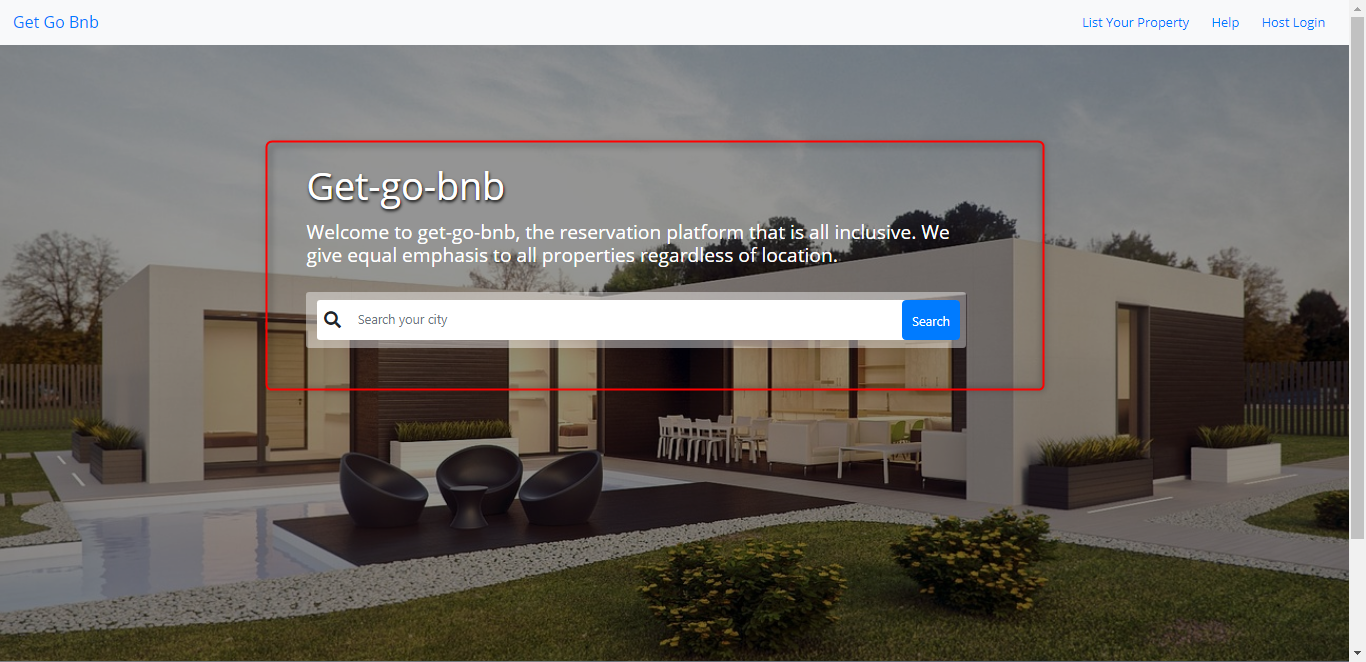
Click ‘List your property’ link in getgobnb.com as shown above. This will take you to the quick setup page.

Steps for listing your home:
1. Select Home in the property type.
2. Enter login email and password. In addition to these you will also require property short name to login to your host dashboard.
3. Enter the display name of your property. This is what will be displayed to your guest who wants to book.
4. Enter the portion of the home you want to rent out. It could be Entire house, private or shared room. Please select the appropriate option from the drop-down list.
5. Enter the total number of bedrooms you have in your home.
6. Enter the maximum number of guests you can accommodate in your home.
7. Enter the total number of beds in the portion to be rented out.
8. Select the amenities you have at your home available for guests to use.
9. Enter the description of your property. This can include home highlights, Neighbourhood, your country rating and things that would interest guests to book. Directions to get there
10. Enter the general policies of your home. This can include Home rules; check in process, Pet rules, and Check in-check out time.
11. Enter the cancellation Policies of your home. This can include procedures, the number of days before which they can cancel, the refund policies etc.
12. Enter your name.
13. Enter your date of birth. Please use the date picker to select the date. You should have completed 18 years to be eligible for registration.
14. Enter your address, state and country.
15. Choose the arrival and departure time for the guests in your home.
16. Enter your phone number.
17. Lead days – Enter the number of days required in advance to book your home.
18. Enter the minimum number of nights the guests can stay at your home.
19. Enter the maximum number of nights the guests can stay at your home.
20. Enter the total price of your home.
21. Property currency – This is the currency that will be displayed in the website for your guests to see. The guest can make payment using credit card with any currency, but the amount will be charged based on the amount and currency you setup here.
22. Add your photo.
23. Add your property’s cover photo which will be displayed as the main picture on the description page.
24. Add other photos which will be displayed in the gallery as a slideshow.
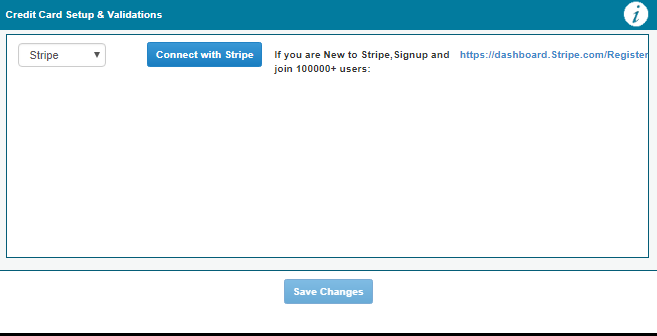
25. Click finish. This will take you to the payment setup page. Before setting this up, please create a stripe account with your bank account details.
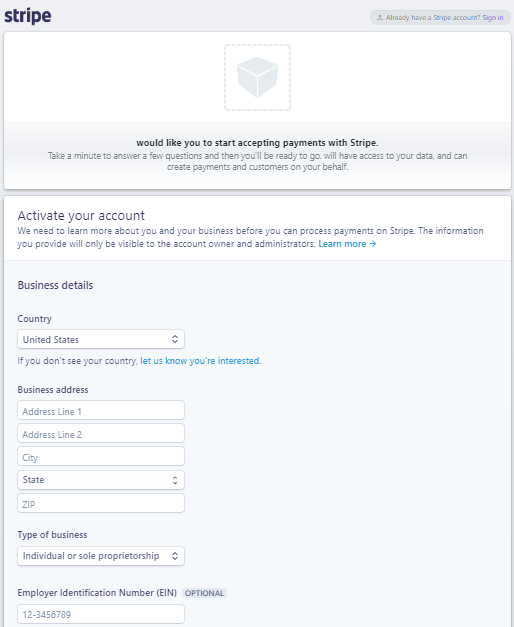
26. Click Connect button. This will take you to the stripe login page where you will be entering your login info to validate the connection. This is a one-time process done during initial setup.

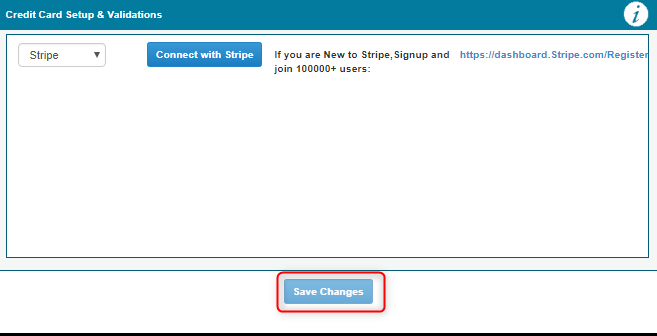
27. After connecting with stripe, it will redirect again to the setup page. Here you will have to click “save changes” to finish the setup process."
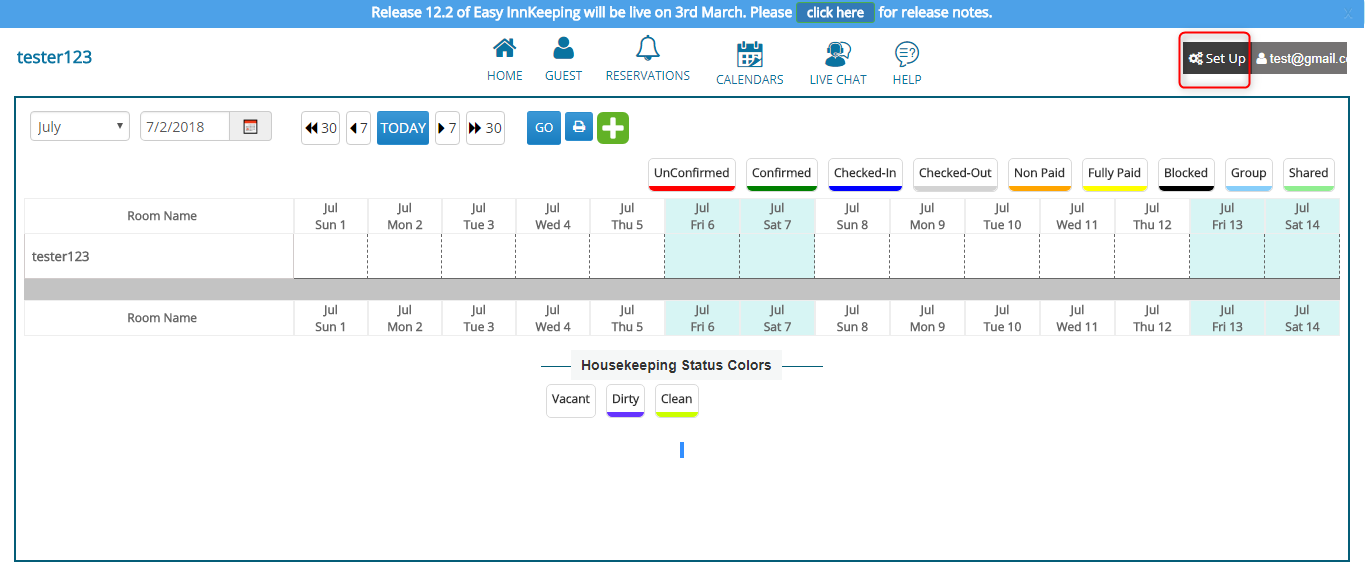
28. You will then be logged in to the host system where you can access the calendar, dashboard and reservation details. If you want any changes to the details of your home, it can be made by clicking on the setup link marked in red in the below image.
Steps to book a home:
1. Enter the city you want to search for.
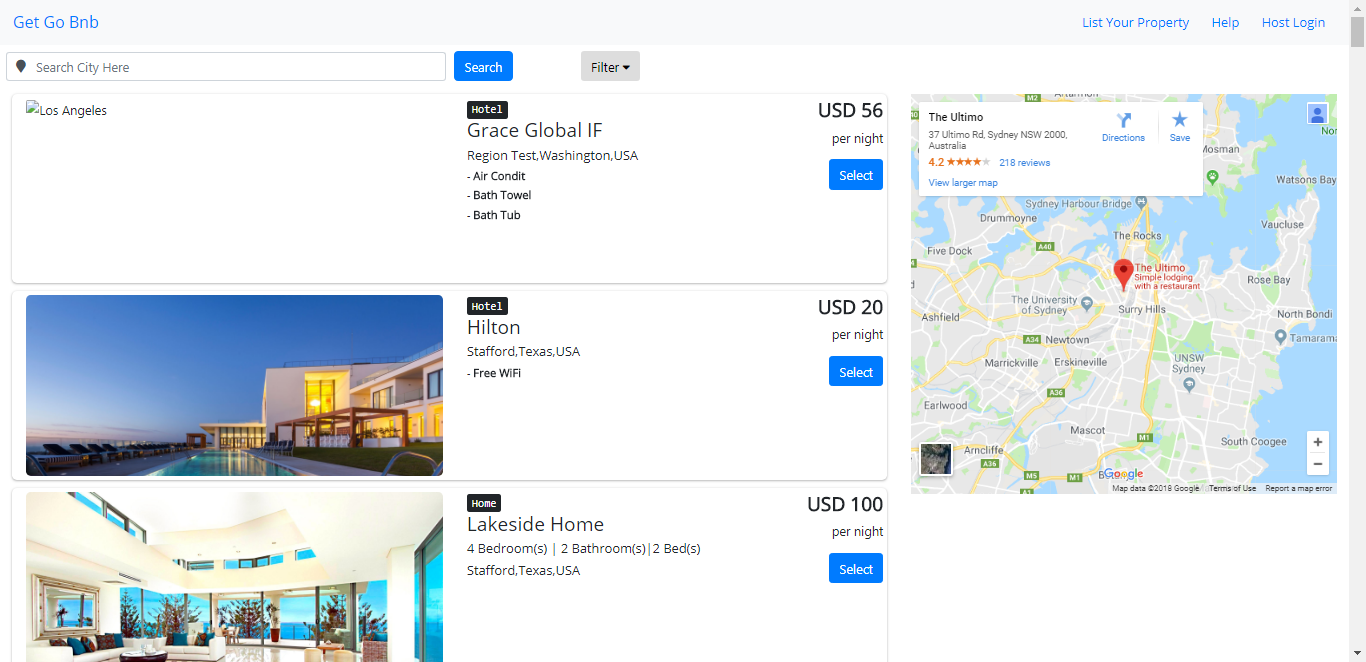
2. By clicking on “search” it will display the list of homes in the searched city.
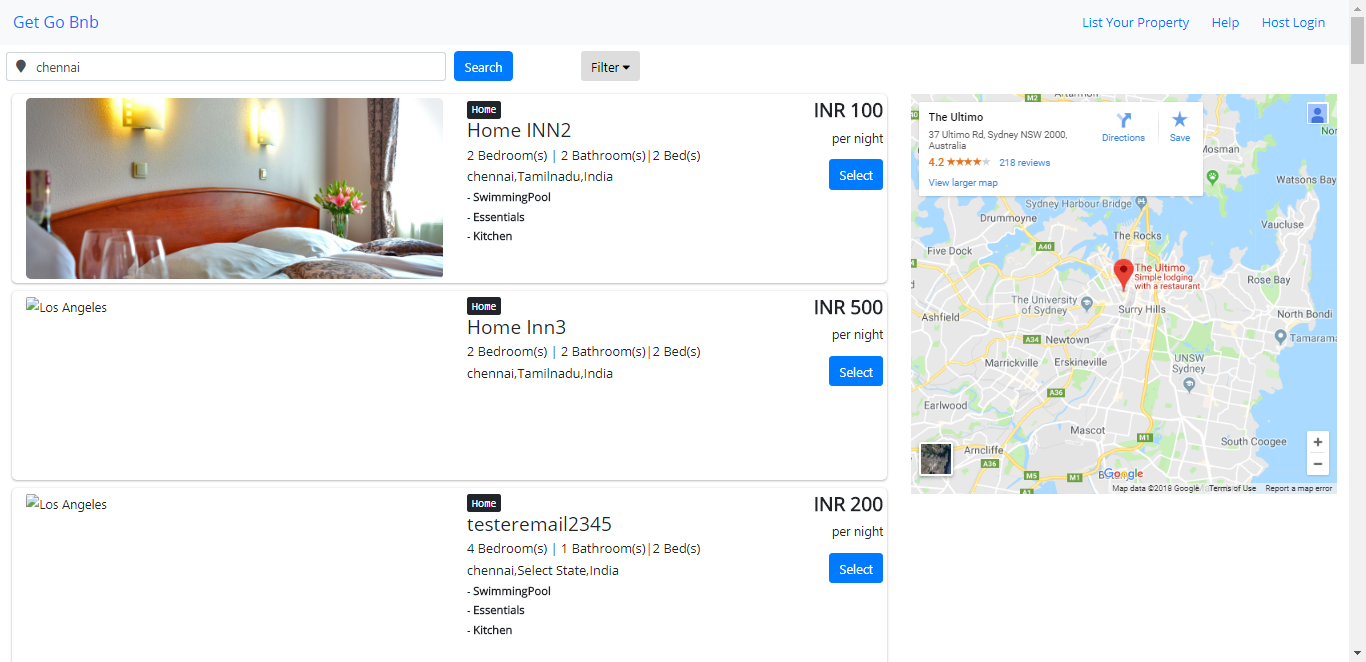
If it is searched without city name, it will list all the homes.
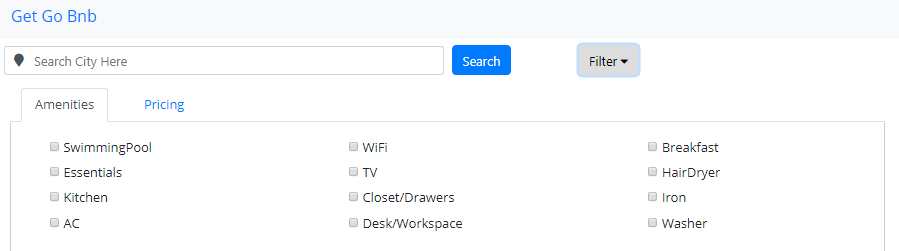
3. You can filter the search results by pricing and amenities.
4. Select the required home from the list.
5. This page will have all the details of the selected home and an option to select dates and book.
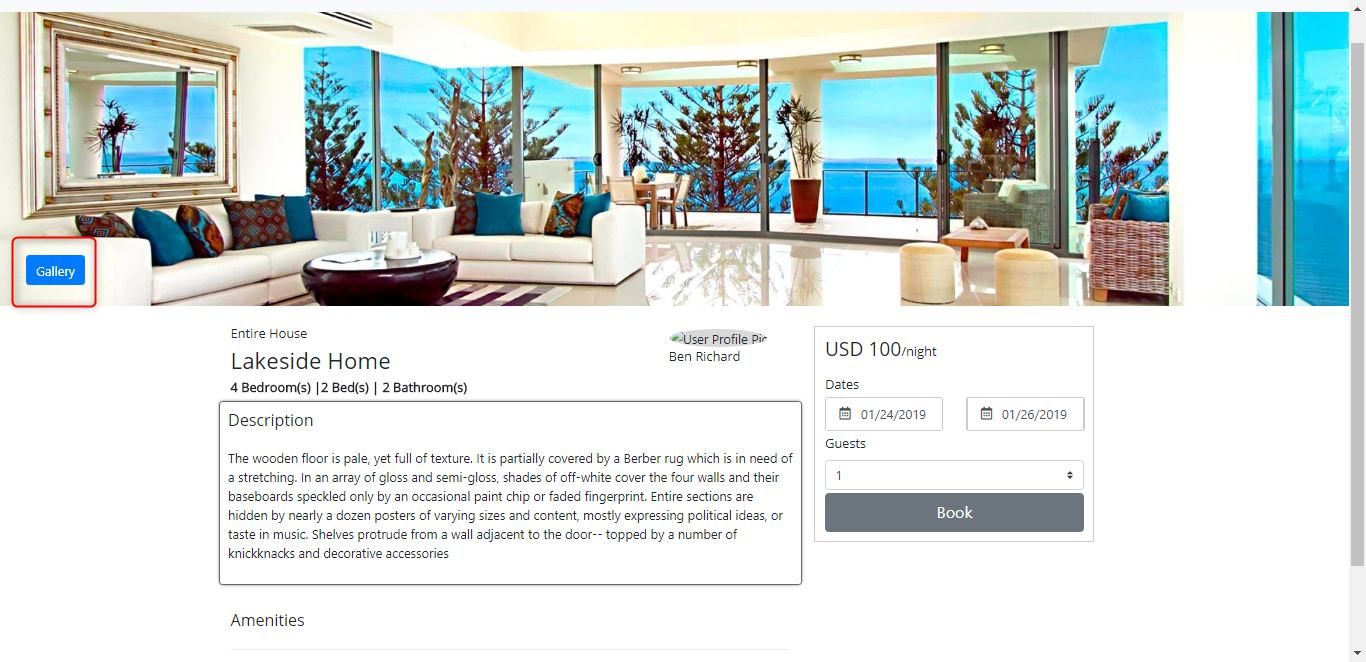
6. You can click on Gallery button as shown in the above image to see all the photos related to the selected home.
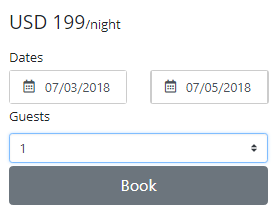
7. In the reservation widget choose the arrival date, departure date and the guests count and click book. If the room is not available for the searched date you will see a prompt displayed to search for another date.
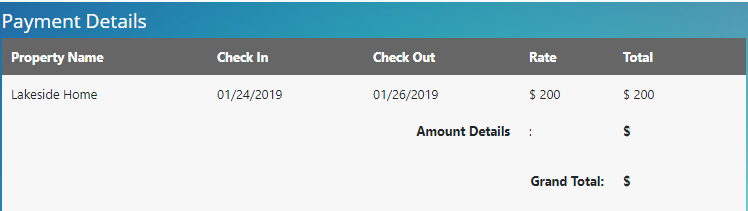
8. This will be followed by the page where you can see the reservation summary and the payment details form and the option to pay.
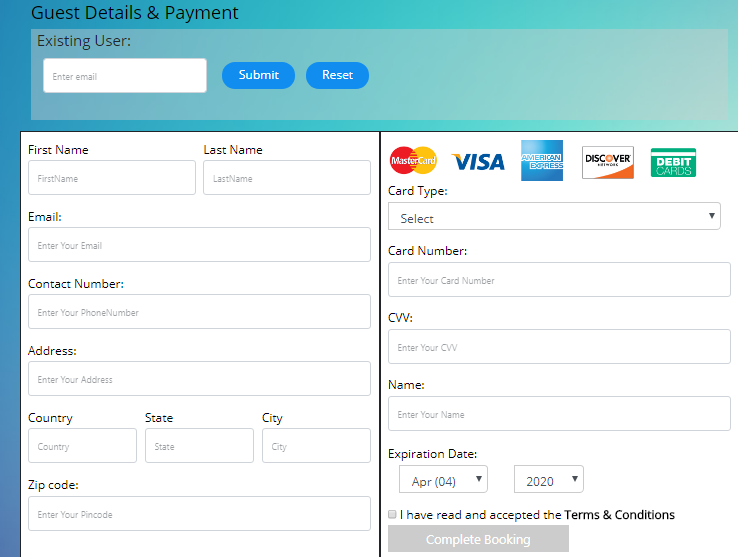
9. You all have an option named existing user here. If you have already booked a home in the selected home, you can just enter your email id in the existing user field and it will pull up all of your details in the appropriate fields.
10. After filling up all the details in the form, click complete booking for payment to be made.
11. The following page will be the thank you page with the summary of all the reservation and home information.
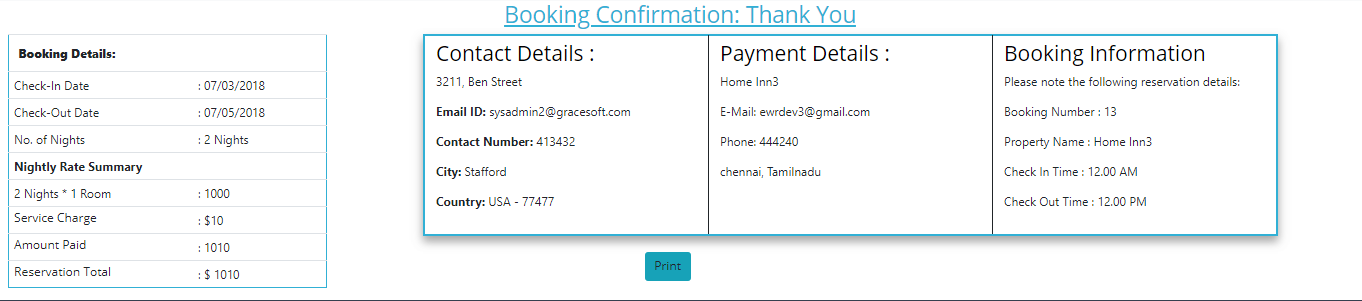
12. At the footer of this page you will find the address of the home you booked. You will also be sent a confirmation email where you will have all the details of home and payment information.